Plates: Difference between revisions
No edit summary |
No edit summary |
||
| Line 11: | Line 11: | ||
|techniques = | |techniques = | ||
|files = | |files = | ||
| | |sources = [http://makerstore.cc/ Makerstore.cc] | ||
|git = | |git = | ||
}} | }} | ||
Latest revision as of 01:12, 28 October 2021

| Designers: | Timothy Schmidt |
|---|---|
| Tools: | CNC routers, Drill presses, Saws |
| Parts: | Sheets, Structural insulated panels |
| Sources: | Makerstore.cc |
Introduction
Many parts do not match the Replimat hole pattern. They are often the most unique and purposeful components of a project which is the reason they are often the easiest part to start building from. Adapter plates can be manufactured with simple tools like a saw and drill for any part with an existing planar mounting holes.
Challenges
Plate thickness should conform to standard frames, bolts, nuts, and washers.
Approaches
Create mounting plates from flat material, which contain the Replimat hole pattern, and a mounting pattern for an associated part. Drilling or cutting multiple overlapping hole patterns into the same plate can allow it to be bolted to several different size frames.
-
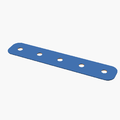
5x1 plate
-

5x5 plate
-

5x10 plate
-

10x10 plate
-

15x10 plate
-

Geodesic dome plate
-

VESA mount plate
-
Three point hitch plate adapts to 5/8 inch, 3/4 inch, 7/8 inch
-

Inch to 20mm / 40mm adapter plate


Corner plates
T plates
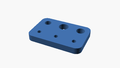
Electronics mounting plates
-

Bitbeam-arduino-plate
-
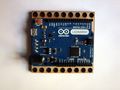
Bitbeam-arduino-plate
-
Bitbeam-raspberry-pi-plate
-
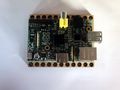
Bitbeam-raspberry-pi-plate


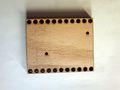
Padded plates
- 5x10
- 5x1
Resources